How Biotechnology Helps Students Understand Applied AI
Healthcare may be the highest-stakes proving ground for artificial intelligence. AI is already being used to help researchers analyze massive


If you’re building (or rebuilding) a CNC machining program, you’re not just teaching “how to run a machine.” You’re building a pipeline into one of the Midwest’s most critical — and most capacity-constrained — parts of manufacturing.
Machining is one of the Midwest’s quiet superpowers. A high concentration of contract machining and precision manufacturing means demand doesn’t just come from one OEM; it comes from hundreds (or thousands) of job shops and suppliers, each needing reliable talent.
The U.S. Bureau of Labor Statistics projects tens of thousands of machinist openings annually (from replacement needs alone), which is exactly why “training strategy” is now a competitive advantage, not a nice-to-have.
A few practical realities that shape program design:
Students might be itching to jump right into programming. But hold off on that. Industry is in much greater need for machine setup and operation, with far fewer need for programmers (aka engineers). If you want to prepare your students for the areas of greatest career opportunity, they need a foundation in machine setup and operation before you get to the programming and robotic integration.
Let’s address the elephant in the lab: We’re a FANUC CNC partner. So of course we advocate for FANUC CNC programs in schools.
But if your goal is workforce readiness, you have to evaluate what students will actually see in the field — especially across Midwest job shops and contract manufacturers. That’s where the FANUC control truly matters.
You might think of FANUC as the yellow robot brand, but their origins are in NC controls. FANUC stands for Fuji Automatic Numerical Control. The company traces its origins back to the 1950s and the early development of numerical control in Japan, later becoming FANUC as a dedicated NC company. Today, FANUC is broadly recognized as a global leader in factory automation, with an enormous installed base of over 40 million products.
60% of CNC controls in the world are FANUC.
And that’s not just on FANUC machine tools. Top machine tool brands worldwide use FANUC CNC controls, so odds are, if your students go into the machining industry, they will be working with FANUC controls.

Even Okuma and Mazak sometimes use FANUC controls for certain machine tools or specific high-production lines.
A progressive program isn’t “buy a big machine and hope.” It’s a sequence that lets students (and incumbent workers) build capability safely, repeatably, and with measurable outcomes.
Below is a step-by-step model you can implement in phases.
Every good machinist needs fundamental manufacturing skills in safety, precision measurement, shop math, GD&T, print reading, etc. We can build these skills using engaging, interactive eLearning from FANUC. If you skip this, you’ll have a much harder time teaching the hands-on technology if there’s no context or basic understanding.
We can get into some basic machining skills in the curriculum, too:
Simulation is how you increase reps, reduce fear, and improve outcomes — without increasing scrap rate.
A strong example is the FANUC Machining Simulator, which is designed to cover the workflow from design through programming to simulation. The CNC Machining Simulator comes with multiple machine options that replicate the exact models you’ll see in the lab, from DN Solutions (Doosan) to Levil and more.

It’s based on an industry-standard FANUC control platform:
And the simulation goes beyond code playback. It can model realistic machine behavior (including crashes) using CNC position data, with real-time collision detection. Imagine an entire lab filled with CNC simulators for the same price as a single machine tool. Now, your whole class can have time to learn operation, setup and programming without waiting for access to a machine.
Once students have the basics of offsets, tools, and safe prove-out habits, the fastest way to build competence is to get them cutting parts, without needing a full-scale machine lab.
Compact CNC machines are valuable here because they let you teach real fundamentals (workholding, tool setting, probing/indicating, offsets, part inspection) in a smaller footprint and with lower infrastructure requirements. You can also scale the number of machines so more students get reps.

For example, the Levil EDUMini Mill travel is 7” X, 7.75” Y, 5” Z , with a max spindle speed of 12,000 rpm. This class of machine makes it practical to teach real setups and real inspection loops in a classroom-friendly environment.
At this phase, the most important outcome is that students can complete a repeatable workflow:
That workflow is what employers need. And it’s the foundation for everything that comes next.
Once students can safely run basic parts, you want them working on equipment that feels closer to what a shop expects, without losing the accessibility that made the program scalable in the first place.
A typical next step is moving into compact industrial mills and lathes that add things like higher rigidity, more realistic tooling systems, and production-style workflows.
One example in this category is the Levil LMV-400, with travel of 16.5” X, 8.5” Y, 7.5” Z and a max spindle speed of 14,000 rpm. For turning, the LTC-30 lathe is a great option.
At this phase, your program should shift from “can you run it?” to “can you run it to tolerance and repeat it?” That means you start emphasizing:
This is also the best time to bring in employers with real parts (sanitized prints). Not for students to “machine production,” but to create a capstone-style project that forces them to work from print → plan → setup → cut → inspect → production-ready parts.

In a lot of Midwest contract machining, multi-axis is no longer rare. Even if a graduate won’t be a 5-axis programmer on day one, exposure matters, because it changes how students think about fixturing, tool reach, collision risk, and part access.
Levil’s compact lineup includes advanced machines like the LMH-300 (4-axis) and (5-axis). On the FANUC side, the ROBODRILL comes in multiple sizes and axis options, with capabilities for advanced multi-axis machining.
If you want this phase to be effective (and not overwhelming), keep it structured:
If your students learn multi-axis machining, they’ll be highly valuable to employers who have more complex, high-precision capabilities in industries like aerospace, biomedical and defense.
Modern machining programs should acknowledge a reality: many shops are trying to increase spindle uptime with fewer people. Machine tending and automation integration are becoming more popular. So a foundation in robotics and automation integration will be a bonus for your CNC program.

The key is teaching automation in a way that’s realistic for education and workforce training. That means a system that focuses on:
A strong example is the APT Manufacturing MTEC (Machine Tending Educational Cell), which is specifically designed to integrate a robot to load and unload a CNC machine. There’s also a simulated version (MTEC-Sim) that focuses on the industrial robot, with a CNC Simulator taking the place of a machine tool.
The purpose of this phase isn’t to turn every student into an automation engineer. It’s to make sure graduates understand how machining and automation work together, and how to operate within an automated cell safely and intelligently.
Here are some additional options for robot-CNC integration:
Industry-recognized certifications are growing in popularity because they standardize the learning outcomes and skills obtained from one school or program to another. A third-party certification shows employers that no matter where their candidates come from, they can rely on the skills they say they have.
NOCTI has developed and validated CNC certifications as a performance-based assessment validating proficiency in setup, programming, operation, and safety.
If you want credentials to actually help placement, align them to how employers evaluate entry-level talent:
When your program teaches those outcomes deliberately, certification becomes the cherry on top.
A progressive CNC program doesn’t jump into the most complex machining right away. It’s built by sequencing the right experiences in the right order, then reinforcing them with repetition and clear standards. When you start with measurement, safety, and setup fundamentals, add simulation to accelerate reps, and then scale into hands-on machining, multi-axis, and automation, you create graduates who can contribute quickly in real shops.
For schools, that means a program employers recognize and support because it aligns with what they actually run. For employers, it means a reliable pipeline and a shared framework you can plug into through advisory input, projects, internships, and upskilling. The best CNC programs don’t just teach machines; they teach the workflow of modern machining, step by step, until competence becomes routine.
Healthcare may be the highest-stakes proving ground for artificial intelligence. AI is already being used to help researchers analyze massive

A two-part webinar series designed to help you discover new funding opportunities, build meaningful community partnerships, and create a strategy for turning big ideas into reality.
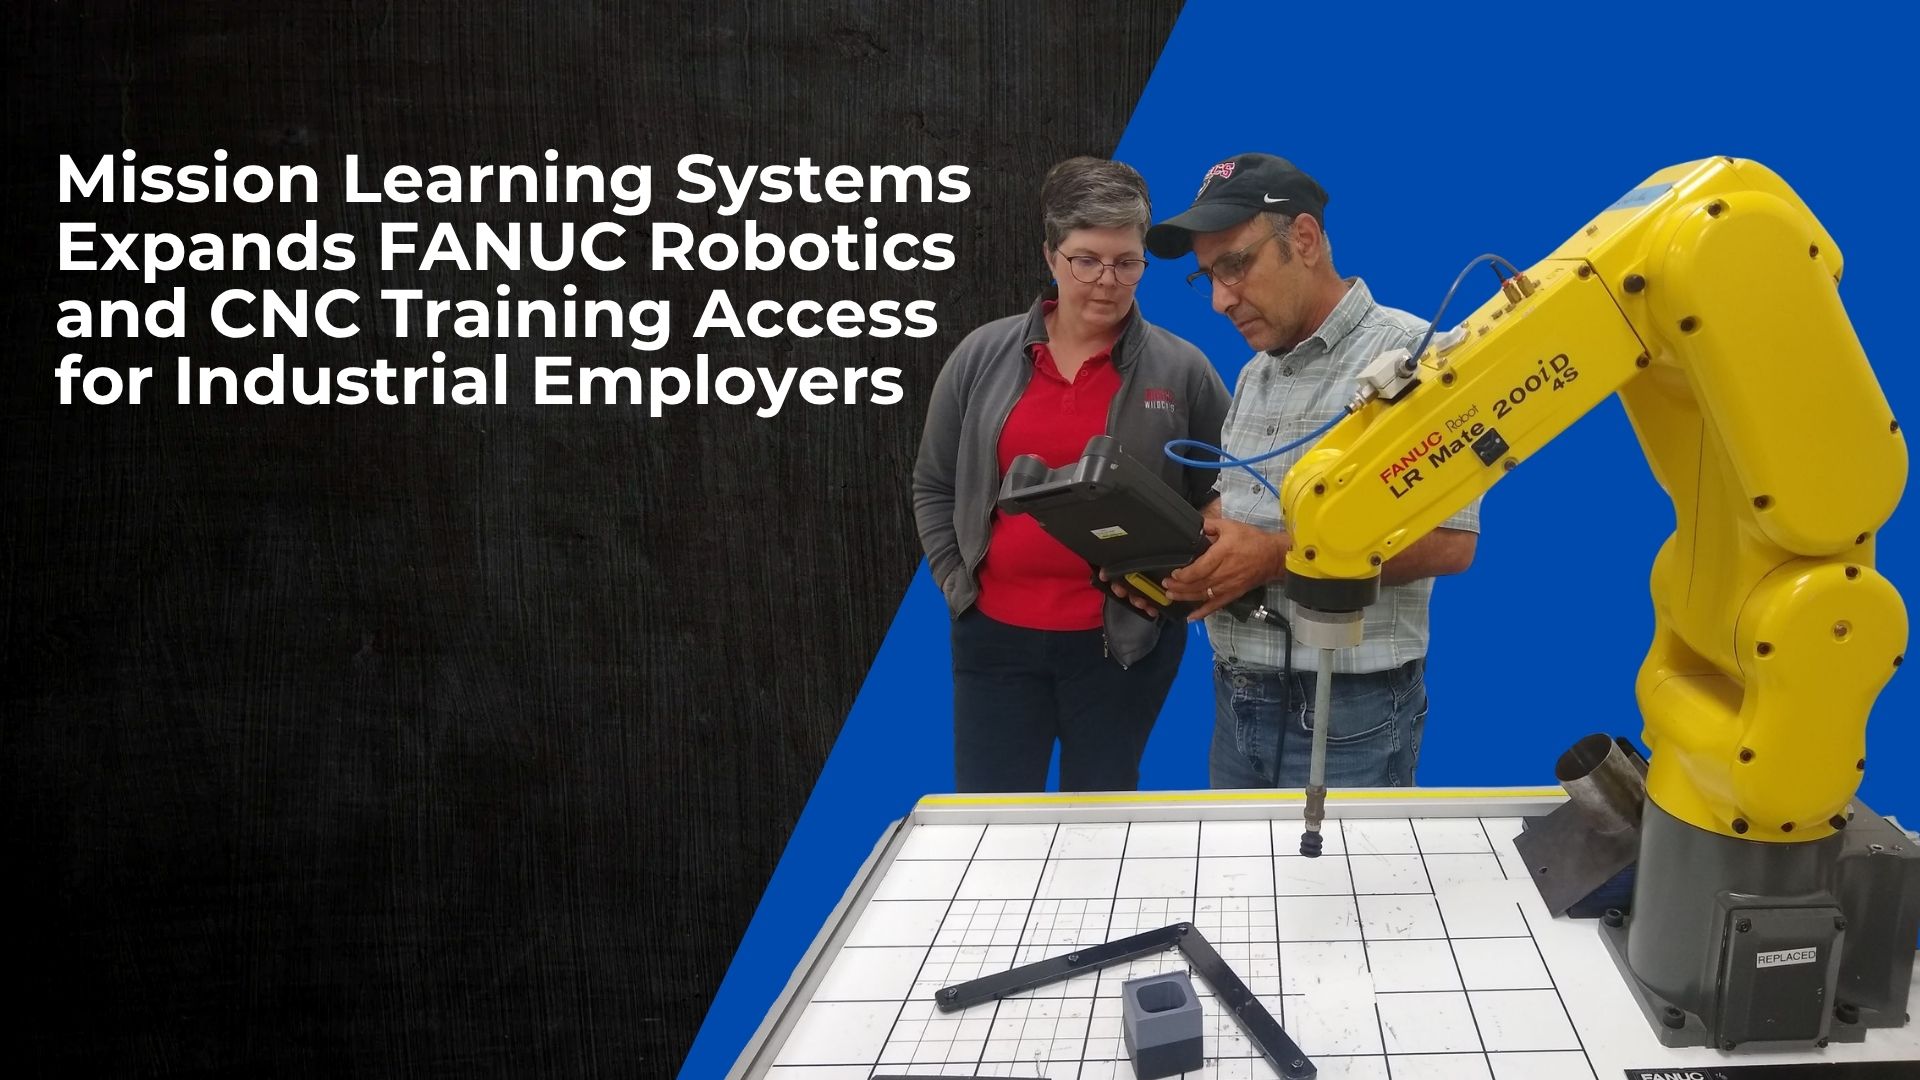
New workforce training solutions enable manufacturers to build FANUC robotics and CNC skills in-house.